Drilling into a plasterboard wall can feel like a simple DIY project, but without the right approach it’s easy to damage the soft material or end up with an unstable fixing.
Unlike a solid wall, plasterboard needs special attention, the correct tools, and the best choice of plasterboard fixings to make sure the object you are hanging stays secure.
In this step-by-step guide, we’ll explain the proper precautions, show you the steps, and help you choose between different options such as wall plugs, cavity fixings, or hollow wall anchors, so your job is safe, strong, and long-lasting.
What Is Plasterboard?

Plasterboard, often called drywall, is made of a gypsum core sandwiched between layers of paper. This combination creates a lightweight but durable board that is widely used for building internal partitions, ceilings, and decorative finishes. It is often used for DIY jobs around the house and homeowners even dryline their homes by themselves.
Because it is a soft material, plasterboard is easier to cut and shape than a solid wall such as brick or concrete, but it also requires a more careful approach when drilling. Plasterboard is often used for partition walls – another DIY-friendly option for your next renovation project.
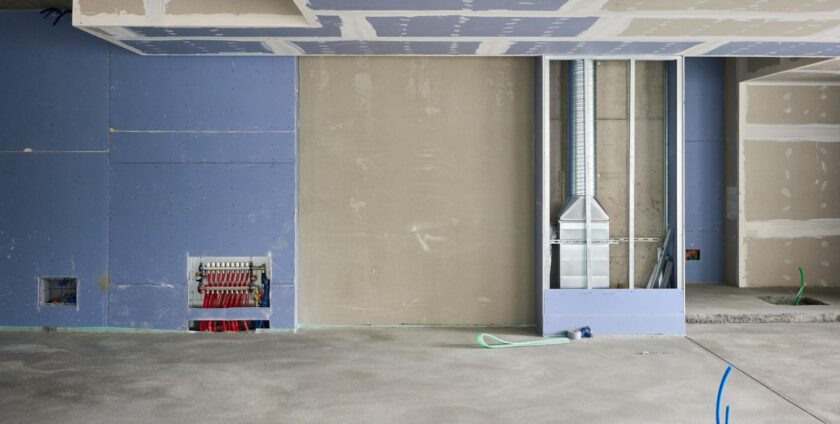
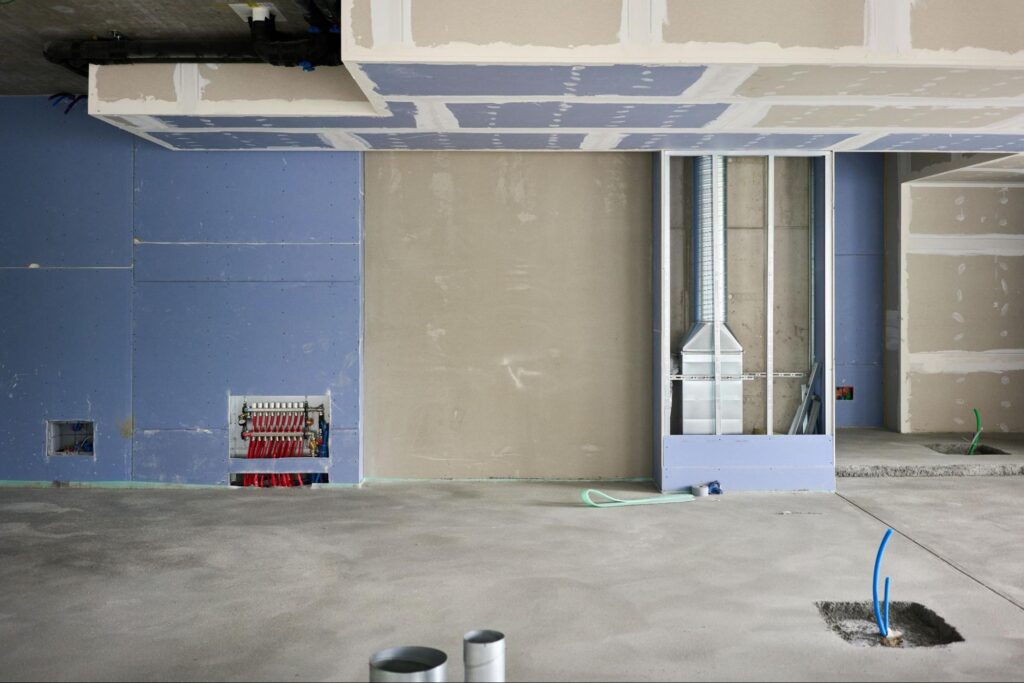
In a solid wall, you might simply use a masonry drill bit and a wall plug to secure a fixing. A plasterboard wall, however, is hollow and usually supported by a stud wall frame. That means there may also be cables or hidden pipes behind the surface, making it essential to use a stud finder or a multi-purpose detector before starting any drilling.
In short, unlike traditional walls, plasterboard needs the right drill bit, the best choice of plasterboard fixings, and the correct precautions to achieve a stable and safe result.
Why Use a Drill Plaster Instead of a Hammer

When working with a plasterboard wall, using a hammer to drive in a screw or nail can easily cause cracks, dents, or even break through the soft material. The impact pressure of a hammer damages the surface, leaving you with a weak fixing point that can’t hold the weight of what you’re hanging.
A drill, on the other hand, allows you to create a clean pre-drilled hole using the correct drill bit size. By starting with pilot holes and applying steady pressure instead of brute force, you avoid tearing the plasterboard and ensure a tight fit for your fixing. Many modern power tools also allow you to switch off the hammer action, which is crucial here – you need smooth drilling, not percussive force.
With the right plasterboard fixings such as wall plugs, cavity fixings, or hollow wall anchors, a drilled hole provides a secure and long-lasting base for your screw.
How to Drill Into Plasterboard and Fix an Object

Drilling into a plasterboard wall may seem tricky at first, but with the right tools, the correct drill bit size, and the best choice of plasterboard fixings, you can achieve a strong and reliable result.
To make the process straightforward, here’s a step-by-step guide that walks you through the steps.
Check If the Wall Is Safe to Drill
Before using your drill, check what’s behind the plasterboard wall. There may be hidden pipes, cables, or timber studs.
A stud finder or multi-purpose detector helps you avoid hazards and locate studs for extra support. If the wall is hollow, use suitable plasterboard fixings like hollow wall anchors or spring toggles for a safe, secure fix.
Decide Where to Drill and Mark the Spot
Once you know the wall is safe, decide exactly where the object will go. Use a spirit level to keep shelves, a mirror, or a picture straight, and make a small pencil mark on the plasterboard wall to guide your drilling.
For heavier items, check if there are studs nearby for extra strength. If not, plan to use the best plasterboard fixings such as cavity fixings or wall anchors.
Adding a strip of masking tape over the spot before drilling can also help prevent the plaster surface from crumbling, giving you a cleaner hole to work with.
Determine the Plasterboard Fixing Type
The strength of your DIY project depends on choosing the right plasterboard fixings.
For light items, a simple wall plug or bugle head screw may be enough. For medium weight loads, use cavity fixings or hollow wall anchors that expand behind the plasterboard wall for a tight fit. For heavier objects like a mirror on a bathroom wall, opt for spring toggles or heavy-duty wall anchors that provide a strong, secure fix even in a soft material.
Selecting the correct size of fixing is just as important as the type. A fixing that is protruding slightly or too loose won’t hold under pressure. Always match the fixing to the same size drill bit to ensure a snug, reliable result.
Drill Into the Material Gently
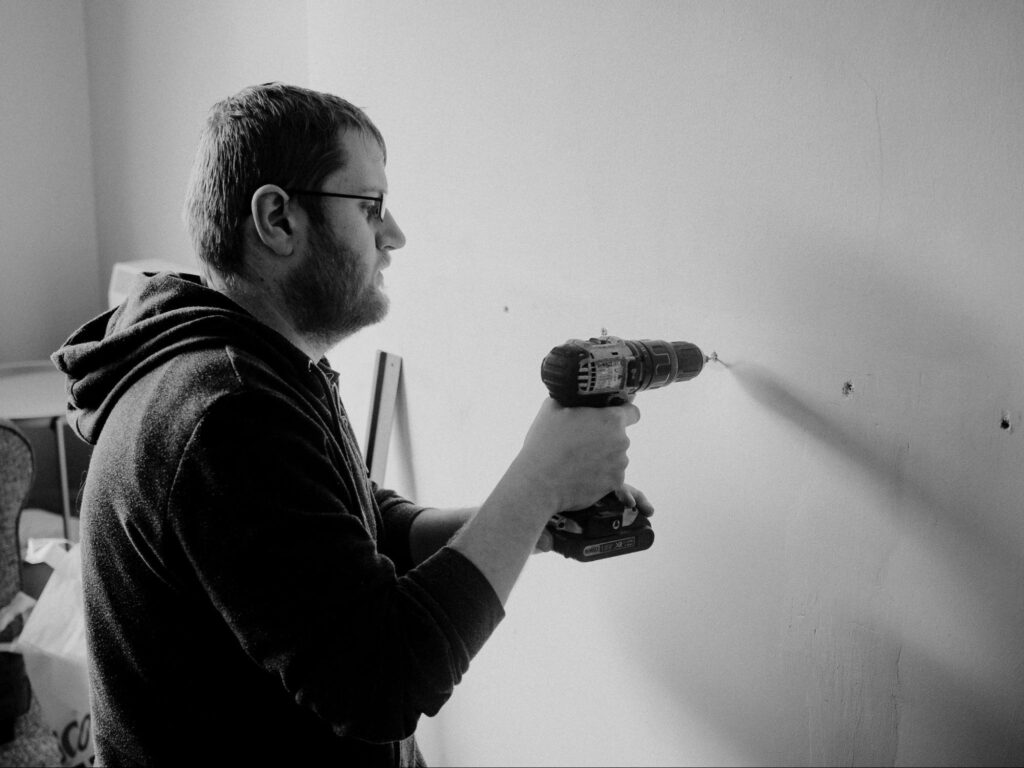
With the right fixing chosen, it’s time to make the hole. Fit the correct drill bit size into your power tools – for plasterboard, a wood drill bit is usually best, while a masonry drill bit is only needed for a solid wall behind. Make sure the hammer action is turned off, as plasterboard is a soft material that can easily crack under too much pressure.
Place a strip of masking tape over your pencil mark to prevent the surface plaster from chipping.
Drill slowly and steadily, creating a clean hole without forcing the drill. Following these steps will give you a neat opening for your plasterboard fixings and reduce the risk of damaging the wall.
Insert the Fixing
Once the pre-drilled hole is ready, place your chosen plasterboard fixing into position. For light jobs, a simple wall plug can be gently tapped in with a hammer until it sits flush. For cavity fixings, hollow wall anchors, or spring toggles, follow the manufacturer’s instructions to expand them securely behind the plasterboard wall.
The key is to make sure the fixing is not protruding slightly but sits evenly for a tight fit. A properly inserted fixing will spread the load, giving you a strong and secure fix for whatever object you plan on hanging.
Attach the Object
With the fixing in place, you can now secure your screw.
Use the same size screw recommended for the fixing and drive it in slowly until it’s firm, without applying too much pressure. The screw should feel snug with a tight fit, but avoid overtightening as this can damage the plasterboard wall or loosen the plug.
Once the screw is ready, mount your mirror, picture, shelf, or any other object so that it’s level and stable. A quick check with a spirit level ensures the job looks professional and the item stays safe for long-term hanging.
Tools and Materials You Will Need
Before starting any DIY project on a plasterboard wall, gather the right tools and fixings to make the job easier and safer.
Here’s a checklist:
- Power tools – a drill with variable speed and no hammer action.
- Drill bit set – including wood drill bit for plasterboard and masonry drill bit for any solid wall behind.
- Plasterboard fixings – such as wall plugs, cavity fixings, hollow wall anchors, or spring toggles.
- Screws – choose the correct size or bugle head screws to match your fixings.
- Stud finder or multi-purpose detector – to avoid hidden pipes and cables behind the wall.
- Spirit level – for straight shelves, pictures, or mirrors.
- Pencil and masking tape – to mark spots and prevent the plaster from chipping.
- Hammer – for when you need to gently tap in a wall plug.
- Safety gear – gloves and glasses for proper precautions.
Having these essentials ready ensures you follow the steps smoothly and achieve a professional, secure fix.
When to Use Professional Drilling Services
Most small DIY projects on a plasterboard wall can be handled with the right tools and a careful approach. However, there are times when calling a professional is the safest option. If you’re unsure about the location of hidden pipes or cables, or if you’re mounting heavy items like a large mirror or cabinets on a bathroom wall, professional installers can ensure a secure fix without risk.
Experts have access to advanced multi-purpose detectors, the best plasterboard fixings, and the experience to follow the steps quickly and safely. They also know how to select the correct drill bit size, apply the right pressure, and deal with both solid wall and hollow structures.
If you want peace of mind that the job is done right and your objects are safely hanging, using professional drilling services can save time, stress, and costly mistakes.
Frequently asked questions
Can I screw directly into a plasterboard wall without using fixings?
You can, but it’s not recommended. Screwing directly into a plasterboard wall usually results in a weak hold because the soft material can crumble under pressure. For a safe and secure fix, always use the right plasterboard fixings such as wall plugs, cavity fixings, or hollow wall anchors.
What is the best plasterboard fixing for hanging a heavy mirror?
For heavy items like a mirror or cabinets on a bathroom wall, use strong options such as spring toggles or heavy-duty wall anchors. These spread the load behind the wall and give a tight fit, reducing the risk of failure.
How do I know the correct drill bit size for plasterboard?
The drill bit should be the same size as the fixing you plan to insert. Using the wrong size can cause the fixing to sit loose or be protruding slightly. Always check the manufacturer’s guide for the correct drill bit size for your chosen fixing.
How can I avoid drilling into hidden pipes or cables behind the wall?
Use a stud finder or a multi-purpose detector before drilling. These tools can identify studs, cables, and hidden pipes so you can take the proper precautions and drill safely.

