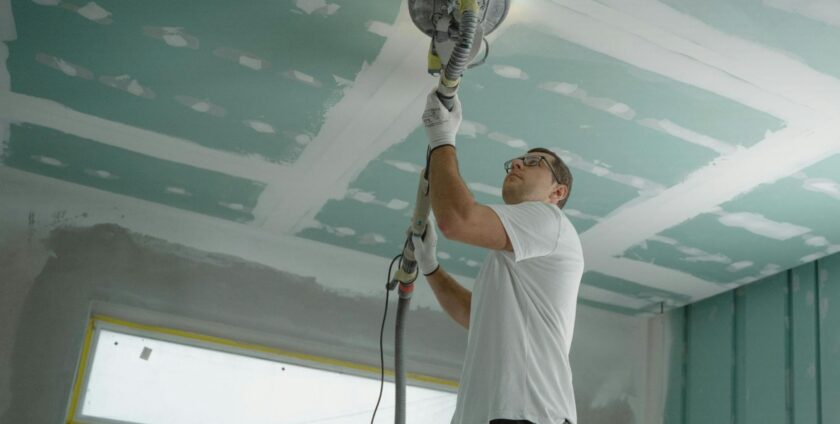
When you build a wall on your own home, sometimes you seek the easiest and cheapest way to do it. Not all times are that ideal, but with modern materials and techniques, construction has never been easier.
In today’s blog post, we are going to talk about what probably is the most famous and easy technique for putting up walls, and that’s dry line.
What is a dryline, and how do you use it yourself? Read below.
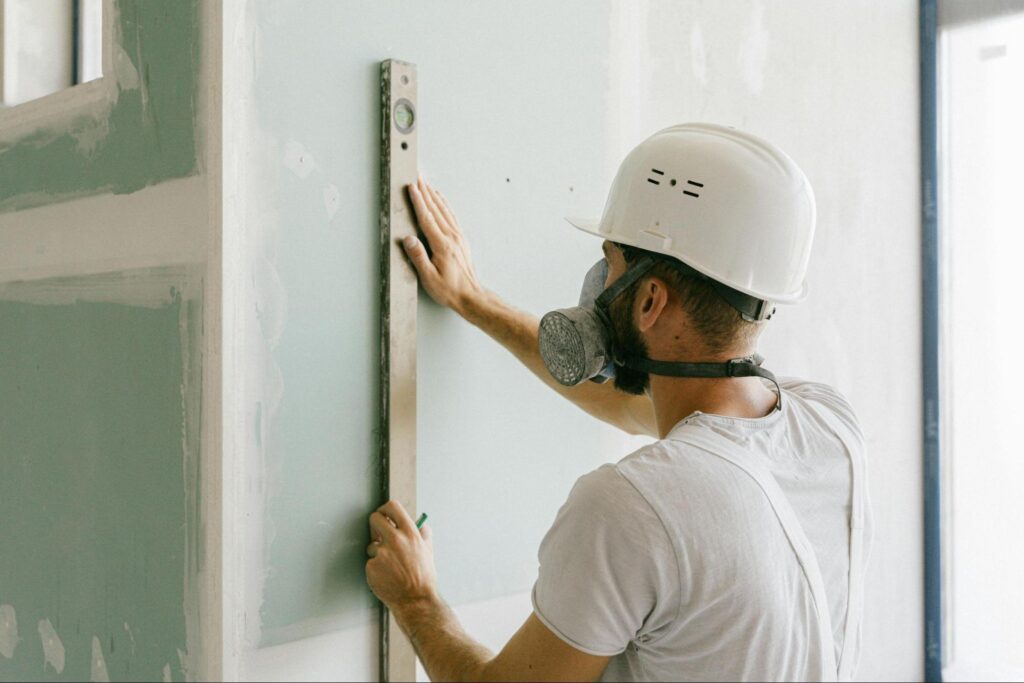
What is dry lining?
Drylining is the method when you place plasterboard over brickwork or a stud frame. This method gives you a very even and smooth wall. You can directly apply wallpaper over it or even paint it.
This is a cheap and easy way to achieve a smooth surface of the wall – something that’s more difficult with different types of plaster and other building materials.
The name of dry lining comes from the material being used – plasterboard is dry and you don’t need any wet substance to finish the wall and make it even.
Why and where is drylining used?
Drylining is primarily used for internal walls both in residential and commercial buildings. The reason why it’s so popular in modern-day construction is that it’s way faster than all traditional ways to finish a wall and it’s an easier alternative to classic ways for finishing walls.
One other pro of drylining is that it’s far cheaper than applying plaster and sanding the finished walls before going to either wallpaper or paint for the finish. Drylining can save time in construction and is an integral part of almost every modern-day construction project.
Drylining gives a smooth finish on the wall right away and can be used also as a very good base for laying tilework. In those cases, smoothness and the level of the surface is very important in order for the tiles to stick firmly on it.
Drylining is also a very preferred method for DIY construction because it’s easy to install, and you don’t need as many special skills when compared with plastering, for example.
For outdoor projects, drylining is used as a base for adding proper outdoor materials such as wood cladding, shiplap, etc.
What’s the difference between drylining and plastering?
The main difference between drylining and plastering is the process.
When you’re wall dry lining metal or timber, you put plasterboard slabs on a construction. The process is fast, cheap and it doesn’t involve any type of wet materials like mortar, glue or plaster.
Plastering, on the other hand, is when you apply wet material to an already existing wall in an attempt to level the surface and make it ready for painting.
When plastering, the total time of construction is way longer. Wet plaster application is hard and is almost always done by professionals. Materials have a dry time, which has to be acknowledged during the construction process. After applying plaster to the wall, it has to be sanded before painting to create a smooth surface. And only after that you can finish the wall with paint or wallpapers.
Sometimes plastering is preferred by homeowners because it creates texture on the wall. The plaster is not ideally smooth, even when sanded. This can create visual interest to every wall and it’s primarily used in classic style houses.
Plastering is also a process done entirely by hand, which makes it more of an artisan form of construction in modern days.
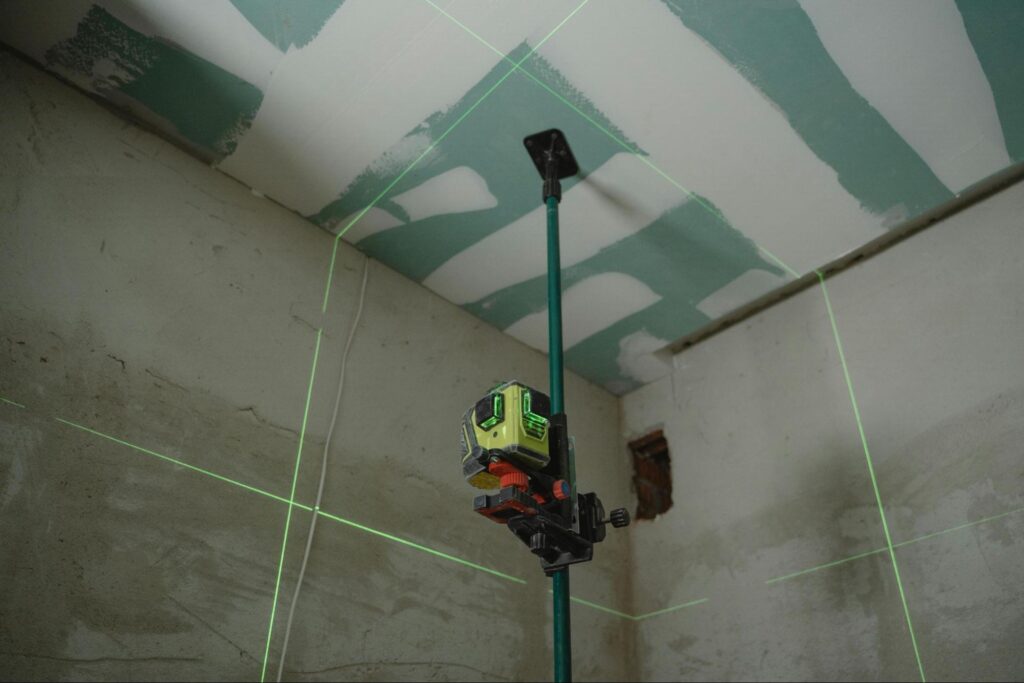
How to dryline a wall by yourself?
Drylining a wall is such an easy process that many homeowners prefer to do it by themselves. With the rise of reality TV and design and DIY shows, there’s a lot of guides out there on just how to do it.
We are going to give you a step-by-step guide on how to do dry-lined walls.
Materials and tools you’ll need
Before you even begin, you will need to acquire the right materials and tools for the job.
First off, you have to acknowledge where the wall is in your home. If you’re dry lining a wall in the bathroom, you’ll need moisture resistant plasterboard. If you want the wall to be soundproof, you’ll need sound-resistant materials. If you want to insulate it, then you have to buy insulated sheets and so on.
After deciding on the above, the materials you are going to need are:
- Plasterboard
- Metal frames: These are used to secure the dry lining plasterboard on the existing brick construction and also give support to your drylining project.
- Studs: These elements fix your railing and framework on the floor and ceiling.
- Fixings: Depending on the type of drywall you choose, there are a number of screws, nails and other fixings you can use.
- Angle Beads: These elements protect the external corners of the plasterboard from any damage.
- Plasterboard adhesive.
Maybe it sounds difficult at this point, but we assure you it’s not.
Now, let’s dive into the process of dry line.
Step 1: Prepare the wall surface
No construction task will be finished easily if there’s no proper preparation beforehand.
First, make sure that the room you’re drylining in is dry. Moisture can affect the materials and the properties of plasterboard adhesive.
If you are preparing a brick wall for drylining, make sure that all materials have thoroughly dried. If you notice any moisture or damp spots on the wall, the problem has to be fixed before drylining.
If all of the above are good to go, you need to check the wall for any bumps or imperfections that may affect the drylining of the wall. Make sure you clean the walls very, very well. Any leftovers from materials or other construction debris can affect the process.
Step 2: Measure and plan
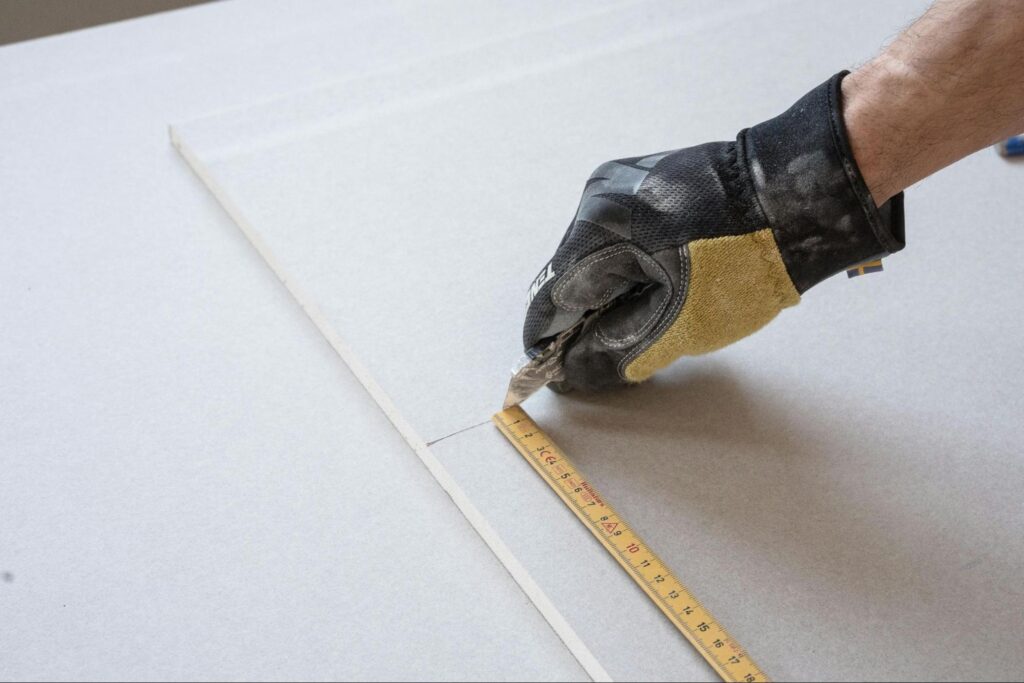
After you have checked and thoroughly cleaned the wall, the next very important step is to measure everything and make a plan.
Make sure you measure everything very carefully. Remember, don’t do this quickly because you can make a mistake.
You have to make a choice here – are you going to stick the plasterboard directly onto the wall or are you going to use lightweight metal frames to keep it in place?
If you choose the second option, you have to keep in mind that after measuring and planning, you have to construct the metal frame first. That can be done with screws right in the brick wall. Metal frames are very light and don’t add any thickness to the plasterboard walls.
You can also choose a method that combines both. You can put metal framing for the external corner of the wall and one horizontal in the middle to screw the drywall in place and also apply strong adhesive for extra contact of the plasterboard with the wall.
It’s good if after measuring to mark where the individual sheets of drywall will go. That way you minimize the risk of mistakes.
Also, if you plan on having electrical outlets or lights on that wall, now is the time to measure, run electrical cables and mark where they will be on the plasterboard. If you want to make an electrical plug, make sure to put all electrical elements in a box before closing the wall with plasterboard. Also, mark where you want your socket to be and cut the whole before you put the drywall on.
Step 3: Choose insulation (Optional)
If you have to apply insulation to the wall construction, you have to do that before you put the drywall.
There are a lot of types of insulations on the market, and they all serve different purposes. If, for example, you’re drylining an outside wall of your home, you’ll need thermal insulation. If you want your home to be extra quiet and peaceful, sound insulation is needed.
When applying insulation, you should construct a frame for your plasterboard to go over. Insulation requires more space between the drywall and the concrete or brick construction behind it.
Make sure that your insulation covers every possible nook and cranny for the best result.
Step 4: Apply adhesive/Screw in drywall
This step depends on the choices you made earlier.
For adhesive dryline, you should apply the adhesive to the construction concrete or brick wall. Most people do it with the dot and dab method – you apply blobs of adhesive directly on the wall. They should be at no more than 400 mm intervals to make sure that the drywall will stick firmly.
This technique is quick, and it doesn’t require any screws and nails.
If you’re using a timber or a metal frame, you have to consider where you’re going to screw in your drywall and mark it on the individual slabs of plasterboard.
Step 5: Attach plasterboard sheets
When placing the plasterboard sheets, you need to be very careful when aligning them with the wall and each other.
If you’re using the adhesive method, be sure that there aren’t any gaps and openings between the individual plasterboard slabs. Press plasterboard to the wall firmly, so the adhesive sticks.
Step 6: Secure with screws
If you’re using the frame method, screw in your drywall sheets based on the marking for screws you did earlier. If you’re using a timber frame, then use nails. Again – be careful not to leave any space between the sheets.
This is also done if you’re using a combined method – adhesive and framing. After you glue the sheets to the wall, secure the whole construction with screws or nails to the frame.
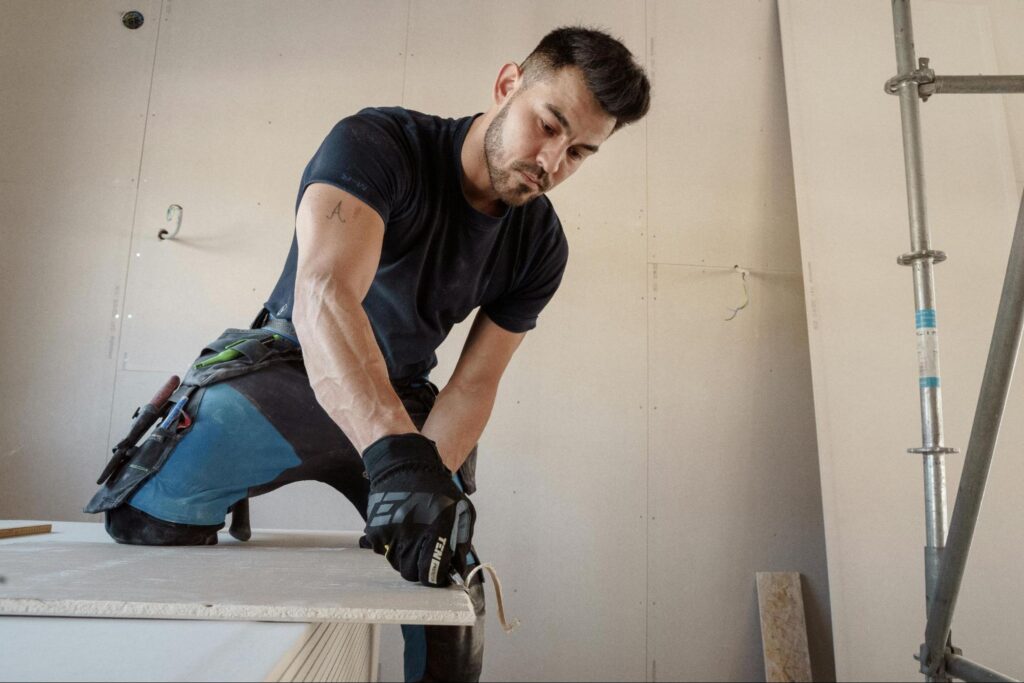
Step 7: Cut and fit sheets
The best method for cutting plasterboard is the so-called scoring and snapping technique. You mark where you want your sheet to be cut with a utility knife. You have to make sure that the guiding cut is done deeply enough to ensure the snap.
Once you’ve done that, you just snap the plasterboard by hand. You can’t cut plasterboard on already mounted sheets.
If you have already mounted the plasterboard on the wall, the best way to cut any access is to do it with a jigsaw. Make sure to mark the whole cutting line, so it’s easier to guide the cut.
You can also do this with a handsaw, but you have to keep in mind that saws leave rough edges you have to deal with later.
Step 8: Address corners and edges
If the wall that you’re drylining has any corners or edges, you have to finish those before applying any paint or decent finish.
If you have outer-corners of the wall, make sure they are protected via angle beads. That way you protect them from any potential damage that may arise in the future.
Step 9: Seal joints
Plasterboard joints can be difficult to seal, especially if they are above 1 mm in thickness. Then, you’ll need mortar to fill in the gap between the drywall sheets.
The process, if everything is according to plan, is not really that difficult.
These are the steps you need to follow:
- Mix your jointing compound exactly how it’s explained on the package;
- Apply a heavy coat on the joint between the slabs, making sure it covers both sheets of drywall;
- While it’s still wet, apply your jointing tape. To secure it in place, first, fold the tape through the middle along its entire length. Place the type directly on the wet compound from ceiling to floor. Apply pressure on the tape to make sure that there are no air bubbles. Apply it in a continuous line.
- After joint tape is applied, again apply jointing compound over the entire surface of the tape. Apply evenly and make sure to get rid of any excess material.
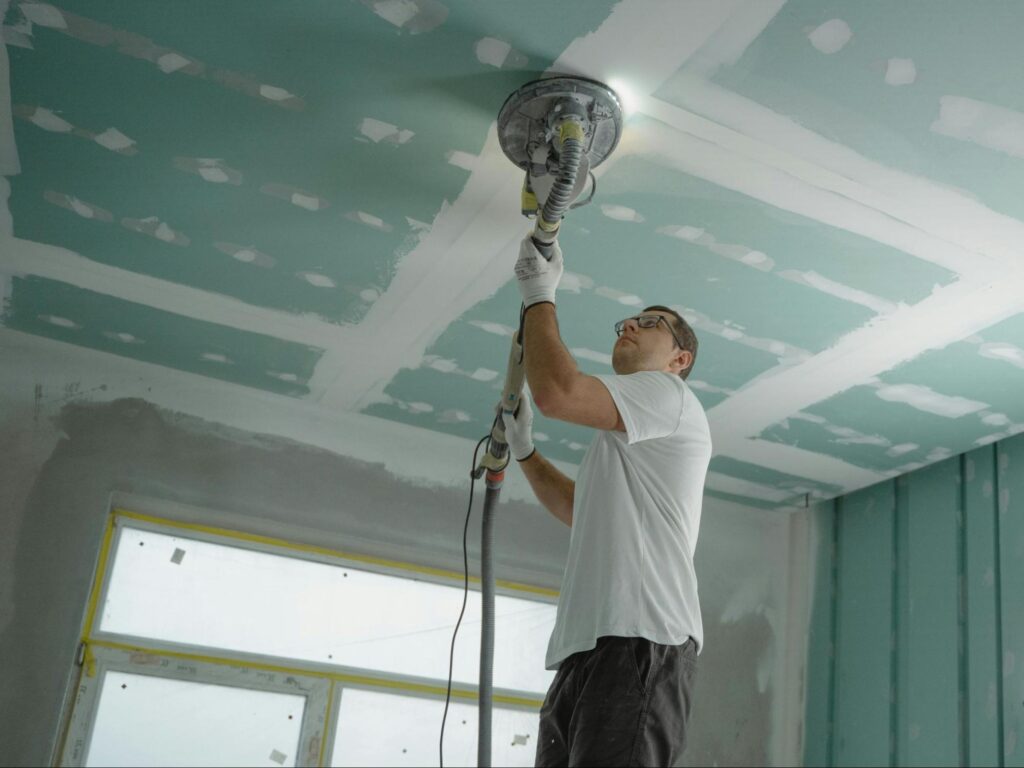
After doing this, make sure that you plan enough time for the jointing compound to dry. After everything has thoroughly dried, sand all the joints to achieve a smooth finish.
Step 10: Skim and finish
Skimming a wall is essentially applying a small amount of plaster over the drywall. This process requires some initial practice, but we assure you that iit’snot hard to achieve.
Here are the steps you need to follow:
- Mix the plaster as explained on the packaging – this is best done with an electric mixer;
- With a hawk, apply the plaster onto the wall evenly and use the same amount of material every time. Do this with a little bit of pressure so the plaster will stick.
- Cover the entire wall in one go – don’t do it halfway and leave it;
- Wait for approx. 10-15 minutes and touch the plaster with your hand – if you leave a gentle finger marking but not a full fingerprint, you’re good to go. If not – wait a bit longer.
- Once the plaster is almost completely dried, use your hawk and with pressure even out any imperfections or lines you see in the wall.
- After it fully dries, re-plastering with a second coat is crucial to avoid any cracks.
- After the second coat is almost dry, you should again even out any imperfections on the wall. Do this 4-6 times for your second coat to make sure it’s even enough. Make sure there are no uneven surfaces.
After completing the steps above, leave the plastered wall to dry completely.
Step 11: Prime and paint
At this stage, you have almost a finished wall.
If you choose to apply wallpaper, spread the glue evenly onto the wall and apply the wallpaper from top to bottom carefully. Make sure there are no air pockets or creases left on the wallpaper.
If you want to paint the wall, you should first paint it. This can be done with any commercial primer on the market.
The steps are:
- Mix your primer as per the instructions;
- Apply primer evenly on the wall. Make sure you cover all spaces.
- If necessary, apply a second coat of primer once the first one has dried;
- Leave the primer to dry very well.
After your primer has dried, apply your paint of choice. Make sure to apply two coats of it for better colour and coverage.
Step 12: Clean up
And that’s it! You’re done, and you have a beautiful new wall at home.
As with every construction, make sure you clean up after yourself.
How to dryline a wall with an insulated plasterboard?
Have you heard of insulated plasterboard? This type of drywall sheet has built-in insulation that provides extra energy efficiency.
If you decide on using insulated plasterboard for your drylining, there’s no need to use any other insulation material. This type of plasterboard is energy efficient, more cheap than other types of insulations on the market and it’s easy to install it.
For dry lining with insulated plasterboard, just follow the instructions above. The process is exactly the same, but without applying additional insulation.
Common problems with drylining
Some of the most common problems with drylining are related to poor adhesion and cracks in the joints.
Poor adhesion of the plasterboard can be a consequence of not mixing your adhesive mix well enough. This can result in construction failure to the finished wall and cracks along all adjacent sheets.
Cracks in the joints can be a result from poor mixing techniques of the materials, but also big cracks between the plasterboard sheets. If you don’t address both issues, this can result in cracks along the joints of the plasterboards.
Another very common mistake, especially when DIY is involved, is visible nail and screw heads. You have to make sure that every nail and screw hole is filled with joint mixture and then sanded to achieve a smooth surface.
DIY or pro?
If you decide that drylining is not easy and you won’t be able to do it yourself, then you can hire professional help for drylining.
Professionals can eliminate any mistakes in the process of dry-lining your walls. Also, they are familiar with the different adhesive mixtures and priming techniques to achieve the best results possible.
FAQs
Can you dryline any wall?
Yes. Dryline can be used on every type of construction wall.
Is a dryline good for wet areas?
Yes, but you have to make sure that the plasterboard is moisture-resistant.
Can I achieve a smooth surface without the second coat of plaster?
Yes, you can, but we advise you not to do it. The reason is that when you apply a single coat of plaster to your plasterboard it can result in cracks on the walls.

