
If you are a homeowner, you have probably concluded that it’s best to DIY some tasks. The pleasure you feel when you see your project finished can’t be described in any way.
However, some projects are more complex than others. For example, if you want to do a DIY project involving wood and carpentry, you should follow the best practices in the field. And that’s our job today!
Our latest blog post will give you beginner tips and tricks on carpentry. We promise that the result will be excellent if you follow all of them. So, let’s dive in!
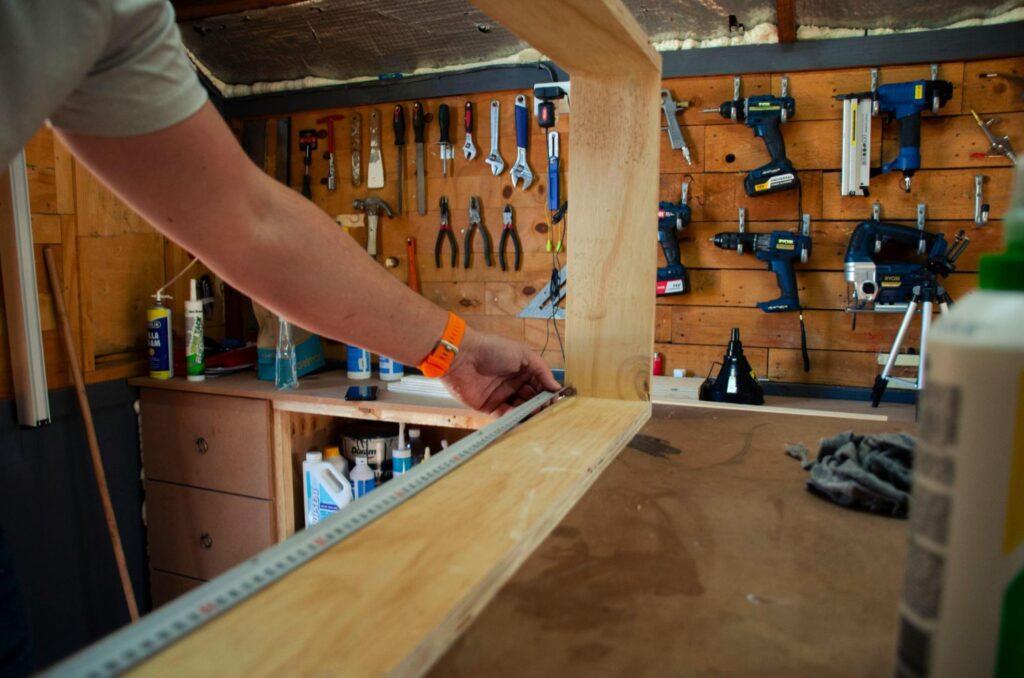
1. Measure twice, cut once
You have probably heard this saying often in your life for various situations. “Measure twice, cut once” is the ultimate tip any carpenter can give to a beginner.
When working with wood, you almost always have a limited supply. That’s why it’s always a great idea to make a thorough plan for your project and measure everything. This way, you can save time, and a good plan eliminates mistakes before you begin your project.
By measuring everything beforehand, you can easily decide how much wood you need and how to use it best so there aren’t any scraps left. Minimizing scraps is beneficial not only to you but also to the environment because you won’t harm more trees than you need for your DIY project.
Repetitive measurements can be frustrating and time-consuming, but double-checking everything can save time, money, and energy in the long run.
You should invest in high-quality measuring tools, like a measuring line, and train before making a single cut.
Use a tape measure for larger surfaces, but ensure it’s always straight. If the surface doesn’t allow a triangle shape instrument, use it to mark cut lines.
You should know how to transfer your measures to the wood you use. This is best done with parchment paper.
You should also know the wood you’re using, but we’ll delve into the types of wood later.
You can begin cutting just after you have an action plan, have measured everything, and marked cut lines. You should hold your saw firmly while cutting to make a straight line in the wood. Otherwise, this can damage the project and lead to changes later on.
2. Keep your tools sharp
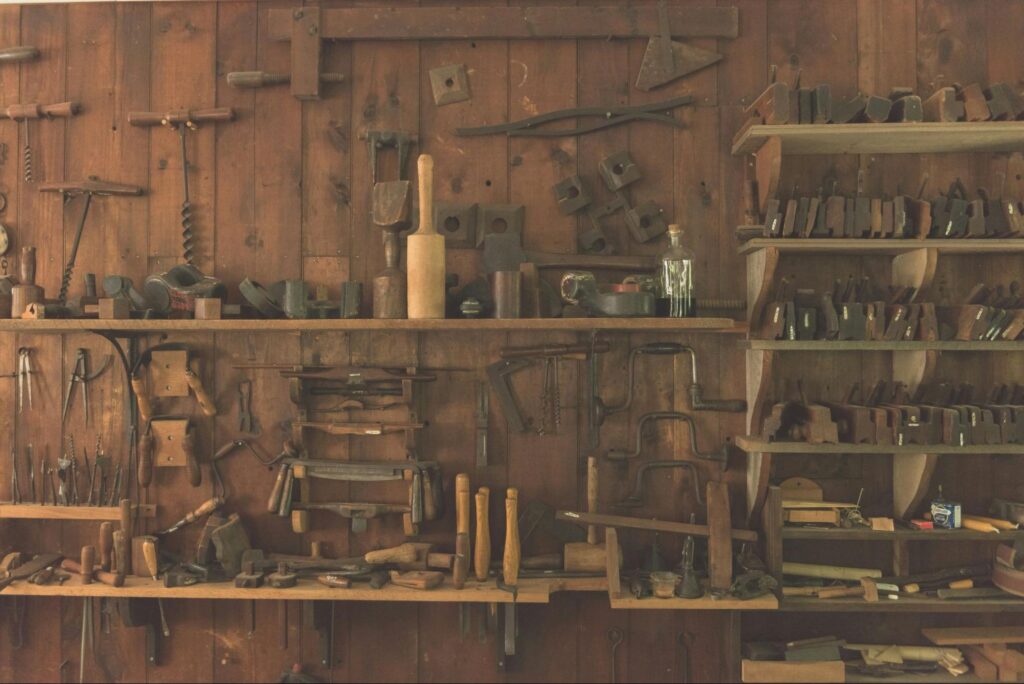
Tool quality is essential for your carpentry project. You should invest in high-quality tools for measuring, cutting, and sawing.
We know that this can be pretty costly, but consider this:
- You buy tools only once, so invest a little more money.
- The tools you choose can severely impact how your carpentry project turns out.
Buying essential tools for carpentry projects, such as a multi-purpose hammer, saws with different sizes of saw teeth, a story stick, and drills with various drill bits, is best.
When you use your cutting and sawing tools, they will naturally become blunt over time. Don’t throw them away—instead, buy a good-quality sharpening stone and care for your tools regularly.

3. Choose the suitable wood for the job
Choosing the suitable wood for the job is probably the second most important tip after measuring twice and cutting once. The difference between wood materials can impact your project and the time you spend on it.
The most important thing you should consider is the wood’s hardness. Depending on the project, you can decide which one you need, and both have pros and cons.
Here we outline some of both:
- Softwood is easy to work with and has a seamless finish in different carpenter projects. However, it lacks the strength you need when doing more serious renovations. Softwood is a sustainable and less expensive alternative because it grows faster and more efficiently than hardwood trees.
Softwood can easily halve the time needed to finish your project because it’s adaptable and easy to manage. - Hardwood is stronger and more durable but more challenging to work with. It’s used for projects where wood is needed for rough construction. Hardwood lasts longer; it’s perfect for carpentry projects outside and can sometimes be the best choice. For example, hardwood is best for laying shingles because of its durability.
The downside is that working with hardwood is more challenging and slower. Also, if you’re using hardwood for your project, you need to consider whether you have the right tools.
When choosing suitable wood for your woodworking projects, consider the material’s grain. The grain of the wood can severely impact the finish of the product.
Always choose solid wood that doesn’t have cracks or other imperfections.
If you plan on using old wood for your project – pulling nails out of it is very important. Nails can hurt both you and your tools. Also, make sure that there’s no damage from bugs or environmental factors.
4. Safety first
When working on a carpentry project, you should always consider safety. Working with wood involves using many sharp tools for cutting and sawing, which, if not used correctly and with the proper protection, can cause serious injuries.
Also, keeping your workbench clean can have a significant impact on the safety of your project.
Here are our obligatory safety tips:
- Always use carpentry gloves on all of your projects.
- Always use protective glasses if cutting and sawing are involved.
- If the project consists of climbing heights, always use a protection helmet.
- Always follow the instructions for use and care on all of your tools.
Also, never try to do any carpentry job quickly. Take your time and be safe.
5. Secure workpieces
All carpentry projects should be done on a sturdy surface and with the proper, secure workpieces. This way, you are protecting not only yourself but also your project.
Always make sure that the wood is secure on the working surface. Use clamps to hold it in place while working. A single clamp isn’t the right choice for more significant projects, so you should consider the size of your wood pieces and how to clamp them down.
There’s a wide variety of clamps on the market, so it’s best to talk with a professional when deciding which one to use on your project.
Learning how to fasten your wood pieces can also impact the quality of your cuts and work. For example, sometimes you must cut a dowel in a straight line. Make sure you insert the dowel into any straight-slotted surface to make a clean and straight cut. If you don’t have one, you can always use a door jamb or a casing to help cut straight lines.
6. Learn joinery
Some carpentry projects involve making joints. This is not easy for a beginner, but it’s not impossible to learn.
When deciding on the best way to bring your project to life, you may need to use joints in some parts of the wood. Take the time to learn joinery.
You should be aware that sometimes you’ll need a hot glue gun or apply wood glue to make your joints extra sturdy. Always be careful how much glue you use. Also, ensure that there is no damp glue before you continue with your project.
Wipe away excess glue from your joints, as it can change the form of the wood or joint when it dries. This is best done with a damp cloth after applying the glue to the wood.
Apply pressure to the surfaces you are gluing together — either with your hands or a clamp — to create a stronger bond.
Once you have glued the two pieces of wood together, put a piece of wax paper underneath the glued joint to prevent your work from clinging to the table. We advise you to unroll more wax paper than you need and cut it in size after interesting it under the wood.
Sometimes, the wood doesn’t want to stick together. Slippery glue-ups often happen when you try to secure the wood with a single clamp. Use more than one clamp for fastening, or sprinkle salt on the glue. That gives better friction and prevents the two pieces from separating.
If your joints involve drilling holes in the wood, you must ensure the drill depth is precise. Almost every modern drill press has drill stops, so there’s nothing to worry about.
Once you know how to build a sturdy joint on a carpentry project, you can proceed to the next step and choose something more challenging to make next time. Investing in yourself and your abilities is always the best decision.
7. Practice with hand planes
A hand plane is a widely used tool in carpentry. It’s used to shape wood with your muscle power.
Before you delve into the work, make sure you practice. You need to find the correct position for your body so you can work with your hands. Practice how you use the hand plane beforehand, but always use the same type of wood pieces you’re using in your project.
Experiment with the hand plane and your force of pressure. Pressure here is key as you will achieve different results with different types of pressure.
8. Invest time in sanding techniques
Sanding is a crucial step in every carpentry project. This is one of the finishing techniques you will use on your project, and that’s why it’s essential to get it right.
Before you start sanding your project, practice on the same piece of wood you use. That way, you will know what type of sandpaper you need to achieve the desired result.
Make a sandpaper storage with different types. You don’t know what kind of sandpaper you’ll need, so you can choose easily if you have a wide variety.
Always start with the roughest sanding paper to remove the more significant imperfections from the wood. With rough sanding paper, you can make clean-edge cuts without any splinters.
Gradually go to fine sanding paper to make the finishing touches. Use your hand to find minor imperfections in the wood.
Clean the wood after sanding with a dry towel to see the result better.
Sanding is challenging, but if you want to achieve the best results, take your time and don’t rush.
9. Experiment with finishes
There is a wide variety of finishes on the market, so choosing one depends on your project’s look.
This is also the protective layer of the wood, especially if you’re doing a project meant to be outside. Choosing the best finish will make your project look good and decrease wear over time.
You can choose between different colors and sheens, but there’s one thing more important than that – always try your finishes on a piece of the same wood. Never apply finish to your project directly if you’ve not experimented with it first.
When applying finish to more extensive surfaces, the result can look severely different than what you saw in the carpentry shop. That’s why it’s essential to practice.
Change the tools you use—sometimes, using a towel rather than a brush to apply your finish is better. If there are surfaces that you don’t want to cover with finish, use stick masking tape.
And again – take your time. This is not a task that you can do fast.
10. Start with simple projects
If you plan on doing more carpentry, we suggest you start with the smaller projects. That way, you can get a handle on all the tools and techniques needed.
Simple projects are reasonable practice grounds for more challenging ones because you can see the results with your eyes and make changes in your technique.
11. Gradually challenge yourself
After completing simple projects, don’t go straight to building whole constructions from wood.
Instead, you should do more complex tasks gradually. That way, you will learn and know the best approach to any task.
12. Care for the environment
When working with wood, you should always think, “I will use the material in the best way possible.”
Trees are not an infinite supply on our planet. It may seem that way, but they are not. So, planning and ensuring you’ll use every possible scrap of wood is essential. That way, you won’t consume more wood than you need.
13. Learn from mistakes
Mistakes are always a good thing! Learn from them as with any other task in your life.
Stay calm if the result of your first project is different from what you wanted. Instead, try to find the mistakes you made and take the time to correct them for next time.
14. Embrace creativity and innovation
As with every DIY task, the most important thing is to be creative and have fun. Creativity can have a massive impact on the project’s outcome.
Also, it’s important to embrace innovation. Some tasks are better performed with newer techniques and tools, so why do them by hand?
But remember – always have fun with your projects! And you can always count on professional home improvement services if you need them.
Frequently Asked Questions
Should I buy the most expensive carpentry tools on the market?
It all depends on the project you have to do. Some projects require expensive tools, but you should always remember to buy tools once.
Can I do carpentry projects if I don’t know a thing about carpentry?
Yes, you can! As with every new skill, carpentry will get better with time.
I did everything right, but the result was horrible. What should I do?
Learn from your mistakes. Find out what you did wrong, analyze the process, and correct the mistakes for next time.

